Wait, you might be saying. I thought we were done with charcoal portraits?? Why does this post say Week 2, when we’ve already walked through the process of weeks three, four, and five?
I missed the first two weeks of the semester due to a personal matter, so when I came back I had to jump right back in with the rest of the class. I’m finally catching up with this first assignment (a week before Spring Break)!
So, I get to sneak in a little “extra” portrait, after all.
Since this was our first assignment, the focus was all about tools, technique, and process. Because I had our phenomenal textbook at home (How to Draw Portraits in Charcoal), I was able to get a head start on the information I was missing from class, reacquainting myself with charcoal and learning a wealth of new techniques from the talented and knowledgeable Nathan Fowkes.
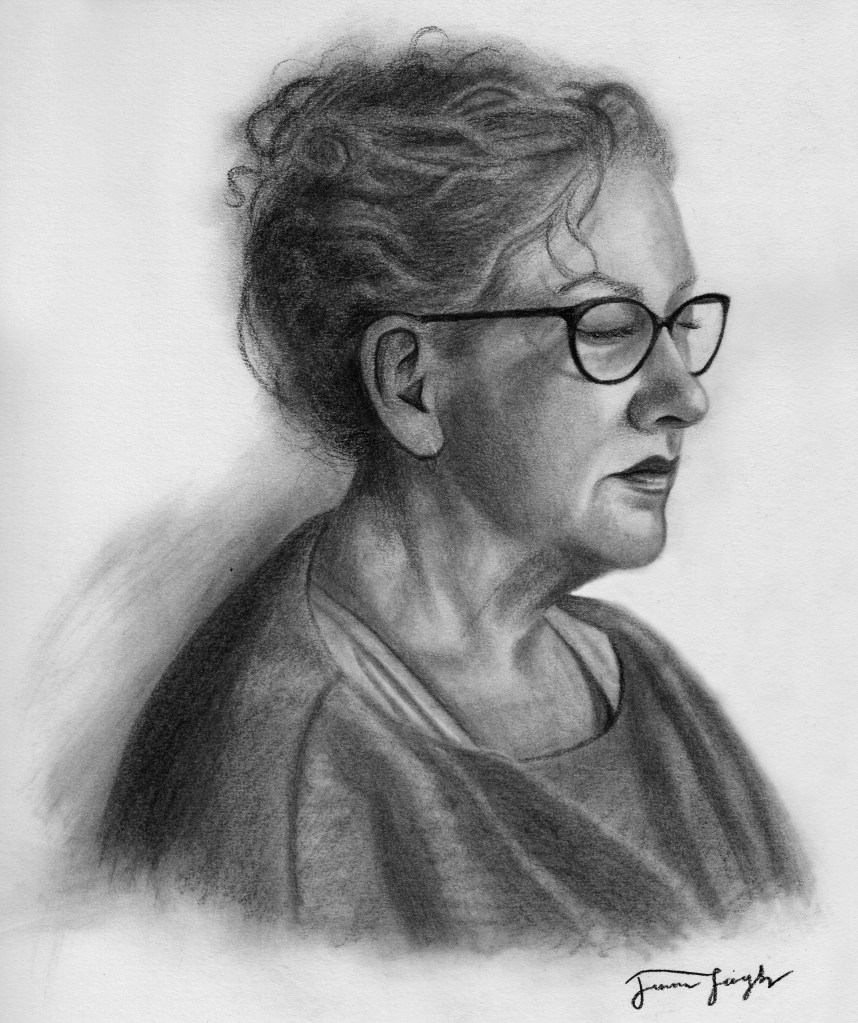
Excited to try implementing his portrait process, I found a picture of my mom with good lighting and got out my charcoal supplies. I began by finding overall proportions and placement of the head, using the simplification method outlined by Fowkes (otherwise known as the Reilly method). After blocking in the darkest values, I used my hand to sweep charcoal into the lighter parts of the face and continued to establish values, using my eraser to bring out the brightest highlights.
After two hours or less, I was surprised to find I had a simple, well-structured portrait of my mom with an accurate likeness of her squinting, smiling face.
Guess what—the techniques worked!
Quickly developing anatomical measurements of the face, working with the natural qualities of charcoal to establish values, and keeping my portrait to a simple, straightforward value pattern gave me my best portrait work in charcoal thus far.
(Disclaimer: I had not drawn many charcoal portraits thus far in my lifetime.)
Of course, that was drawing from a picture—I knew drawing from life would be a big game-changer. But I felt confident that I could handle my tools and that I now had a solid framework for developing my own process of drawing charcoal portraits.
Fast-forward to the other day: I asked my mother if she would pose for my final portrait.
She said yes.
She asked if she would have to sit still, and for how long.
She did not realize exactly what she was committing herself to.
Let me walk you quickly through the process:
Drawing Process
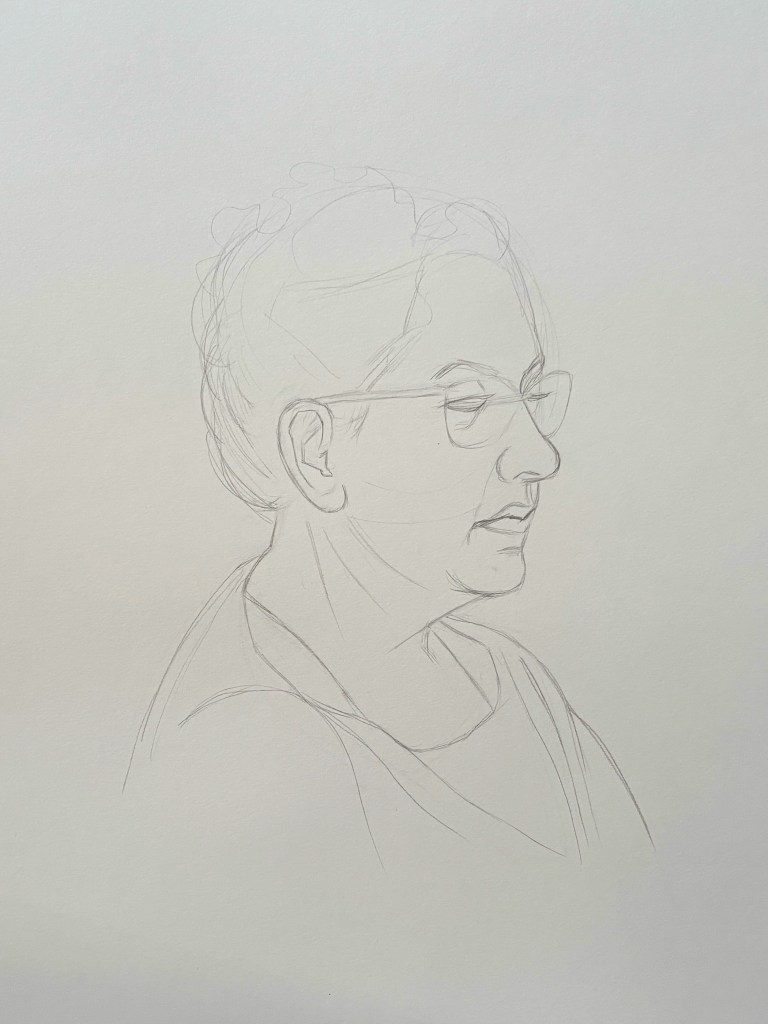
Here’s my initial line block-in of the face, done in my usual light graphite pencil (to easily alter mistakes):
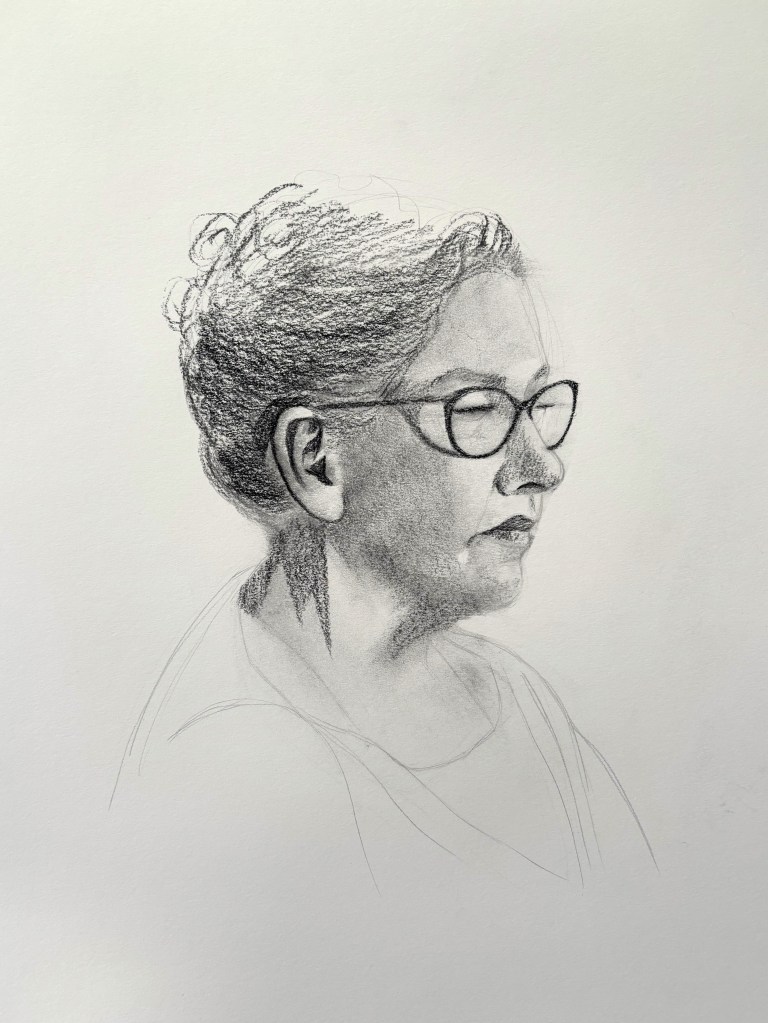
Here’s the initial value block-in:
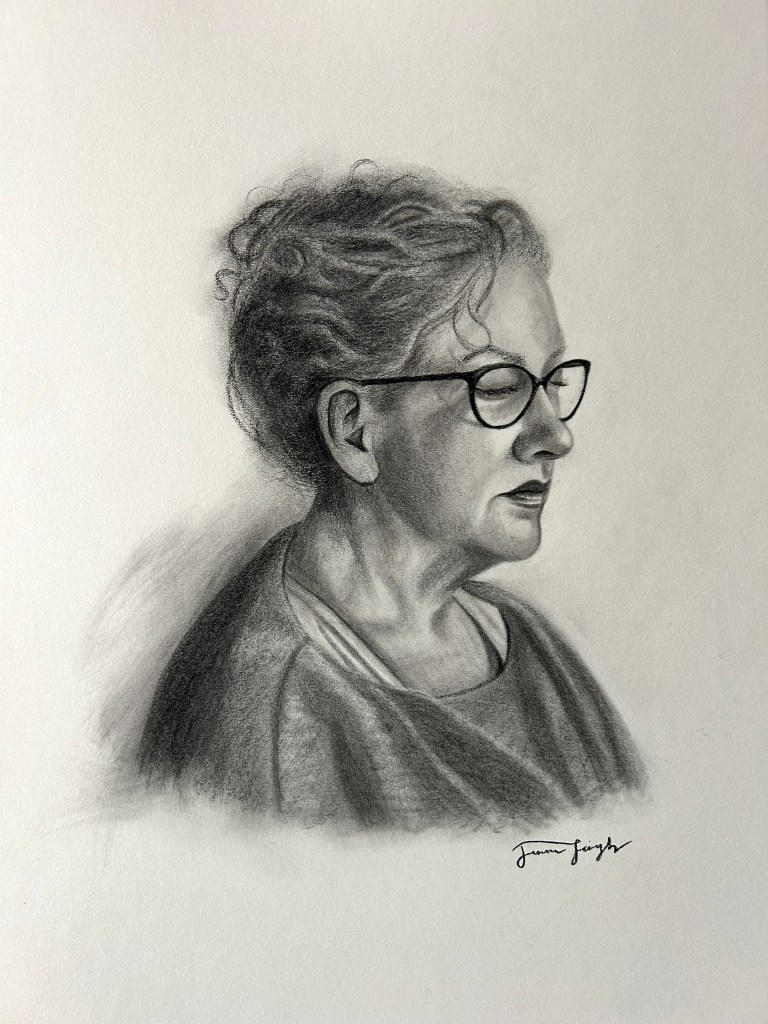
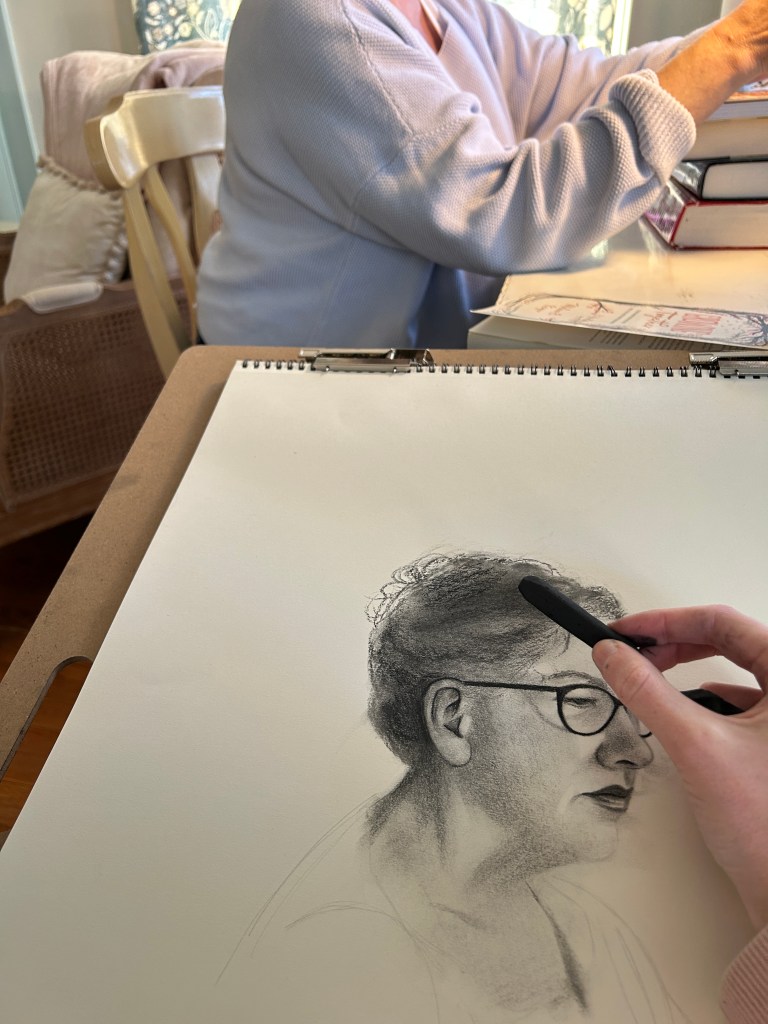
And here’s the final portrait:
Reflection
While my mother knew she had to sit still, she did not realize she would have to sit still. I knew she may have a hard time not doing anything, so I told her she could look at her computer or read a book while I drew.
This backfired a bit. My lovely model became engaged in a stressful task she had to accomplish on said computer and continued to unabatedly converse with my father, who was upstairs.
“I didn’t know I wasn’t allowed to talk!” she said.
Needless to say, drawing her portrait from life was a struggle, but somehow I managed to capture her likeness. (Thanks, Mom!)
Of course, since I had already completed three finished portraits, I had developed a general process for what materials I use at each stage, how I blend my values, and how I render final details. This time, however, I experimented a bit more with my supplies.
To block in initial shadow values, I began by using vine charcoal, which is softer than compressed charcoal and can be removed much more easily. This, I thought, would be beneficial, since I often find myself jumping the gun and establishing dark values in the wrong places—which then refuse to be erased when I realize my mistake.
You get the picture.
However, I discovered that vine charcoal was too light for my liking. The second I touched it or tried to blend it, it would almost lift right off the paper. When I swept my hand across the face to bring value from the shadows into the light side, I lost the darkest landmarks in the eyes, nose, and mouth. Thankfully, this was easily remediable.
I continued working mostly with my compressed charcoal sticks, pencils, and kneaded eraser, which I used to bring out the brightest highlights. Once my model had finally had enough of sitting still (ish), I finished refining the portrait from a photo.
Challenges I encountered:
- A constantly moving model
- Changing afternoon light from the window behind her
- Defining a clear value pattern from multiple light sources
- Drawing eyes behind glasses
- Finding the correct value for her shirt, which was very light
Though it was frustrating at times, drawing a moving model did help me test how quickly I could establish accurate proportions, at which I have improved slightly every time I draw from life. Miraculously, this time was no different!
Until I read the first few chapters of Fowke’s book, when I sat down to draw in charcoal, I just…drew. But because my familiarity with pencil drawing was mainly limited to graphite, I was trying to transfer those skills to a different medium. The results were not terrible, but they weren’t wonderful, either. They didn’t fully explore and take advantage of the natural properties of charcoal.
Learning even a brief overview of his methods and techniques fundamentally changed my approach. As always, it was an excellent reminder to be constantly learning from the masters.
After all, they are called masters for a reason!
As I continue working in charcoal, I look forward to further developing my process and growing in this versatile medium. The past several weeks have been humbling, refining, encouraging, and stretching all in turns.
If you work in charcoal, let me know your tips and tricks in the comments below!


Leave a comment